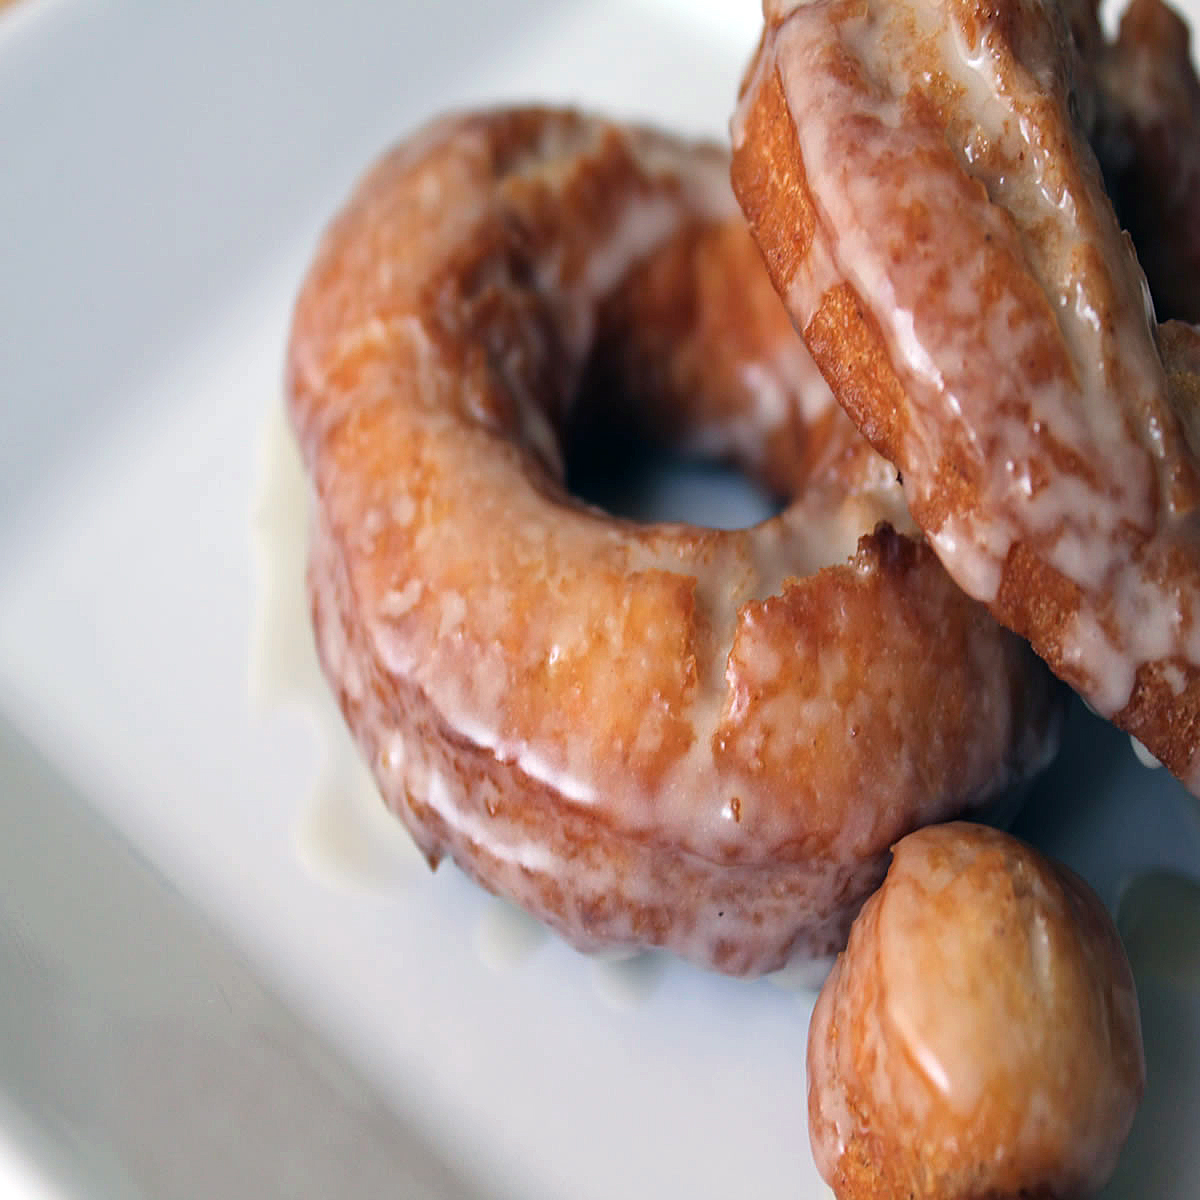
I was such a sucker for doughnuts a long time ago. There was a special place in my heart for old-fashioned and regular glazed. I remember indulging in an entire dozen all by myself. Ahhhh! Well, that was bad… Now I keep sugar to minimum and make healthier alternatives. Old Fashioned Glazed doughnuts are simple and tasty. They have a more “cakey” texture compared to a regular Glazed doughnut, which is light and fluffy (we will address those at a later date…yum).
These doughnuts are dangerous because they’re a little too easy to make. With no rising time (as they are yeast-free), the prep is less than half the time of a yeast-based doughnut.
{ Ingredients }
Doughnuts:
1 ½ + ¼ cups all-purpose flour
2/3 cup granulated sugar
1/4 teaspoon baking soda
1 teaspoons baking powder
1/2 teaspoon salt
1/2 teaspoon freshly grated nutmeg
1/2 teaspoon ground cinnamon
1 egg
¼ cup + 2 tablespoons almond milk + 1 ¼ teaspoon cream of tarter (“buttermilk” mixture)
2 tablespoons non-fat or 2% plain greek yogurt
2 tablespoons unsalted butter, melted and cooled
Canola oil for frying
Glaze:
1 cups powdered sugar
2 tablespoons almond milk
1 teaspoon vanilla extract
{ Directions }
- Ok let’s get started. Line a baking sheet with parchment paper and line another baking sheet (or large plate) with about four layers of paper towels for draining.
- Whisk all of the dry ingredients together in a large bowl, and set aside.
- In separate bowl, whisk the almond milk, yogurt and egg. Add the butter and whisk until well blended.
- Now this is where things can get a little interesting. Make a hole in the center of your dry ingredients and pour the liquid ingredients into the hole. Using a rubber spatula, fold the ingredients together until you get a sticky dough. Don’t worry, it’s ok to use your hands to make sure the dough is well blended.
- Place the dough on a lightly floured work surface. Be careful not to use too much flour because it will make the dough dry.
- Pat the dough out with your hands until it’s about ½ inch thick. I try to make it roundish but shape doesn’t really matter. 🙂
- Now it’s time to cut the doughnuts. I like to use a smaller doughnut cutter but you can choose whatever size you like, so the servings will vary. Place the doughnuts in the fridge while you prepare the oil.
- Get the oil ready by pouring about 2 inches into a saucepan large enough to cook at least 2 doughnuts at a time. Heat the oil over low-medium until the oil reaches about 165 degrees.
- Now you’re ready to fry! Place 2-3 doughnuts in the pan. Make sure they have enough room to dance around. Overcrowding is not good. Brown one side. This should take 2-3 minutes, so watch to make sure they don’t burn. Never leave doughnuts unattended, things might get crazy. Once brown on one side, flip over and brown for 1-2 minutes. Now for the little precious doughnut holes. Cook them for about 1-2 minutes. Roll them over so they brown evenly. Once done, place on the paper towels.
- Make the glaze while the doughnuts cool. Place the powdered sugar, almond milk and vanilla in a bowl and mix well. All done. Super simple.
- Time for the finale! Dip the doughnuts in the glaze and serve immediately. Yummy! If there are any leftovers, place them in an airtight container.